Welcome to The Director’s Cut, an interactive column featuring fashion, beauty and career advice from RGNN Director and Founder, @isabelevabohrer.
After months of seeing mermaid waves all over Instagram, I finally caved and tried them myself. To do so, I considered various options in terms of tools and ultimately, decided on the millennial pink Mermade waver. Yes, the one spotted on celebs such as Sofia Richie Grainge (yes, THE @sofiarichiegrainge who has gone viral on TikTok ever since her wedding), Hailey Bieber, and Kourtney Kardashian, to name a few.
The inspo: Sofia, Hailey and Kourtney using Mermade
@mermadehair “If I can do it, you can do it” @Khloé Kardashian @ADELE #khloekardashian #hairstyle #wavyhair #mermaidhair ♬ original sound – Mermade Hair
On to my review
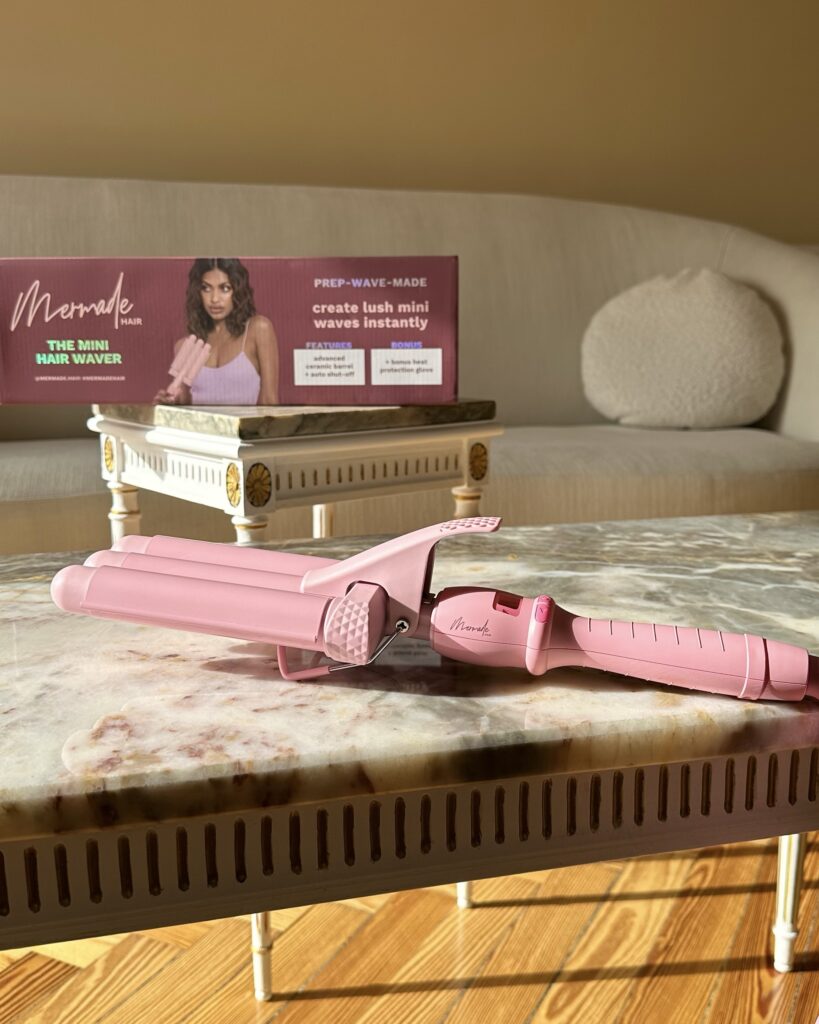
Founded by Australian businesswoman Tara Simich in 2019, Mermade Hair sells wavers in three barrel sizes:
- The OG 32mm / 1.25″ Waver. The one spotted on Hailey Bieber and Kourtney Kardashian. For larger, beachy waves. Available in pink and black.
- The 25mm / 1″ Mini Waver. For slightly more pronounced, smaller waves. Available in pink and black.
- The 22mm / 0.9″ Cutie Waver. Specifically recommended for short hair. Available in lilac.
My hair is naturally slightly wavy and I was looking for a more pronounced, smaller wave. I feel that I already achieve a beachy wave with two heatless braids (the look promised by the OG waver). After spending quite some time comparing OG and Mini Waver photos on IG, TikTok and YouTube, I ultimately purchased the 25mm / 1″ Mini Waver, which I will be reviewing here.
Is it as easy and fast as they say?
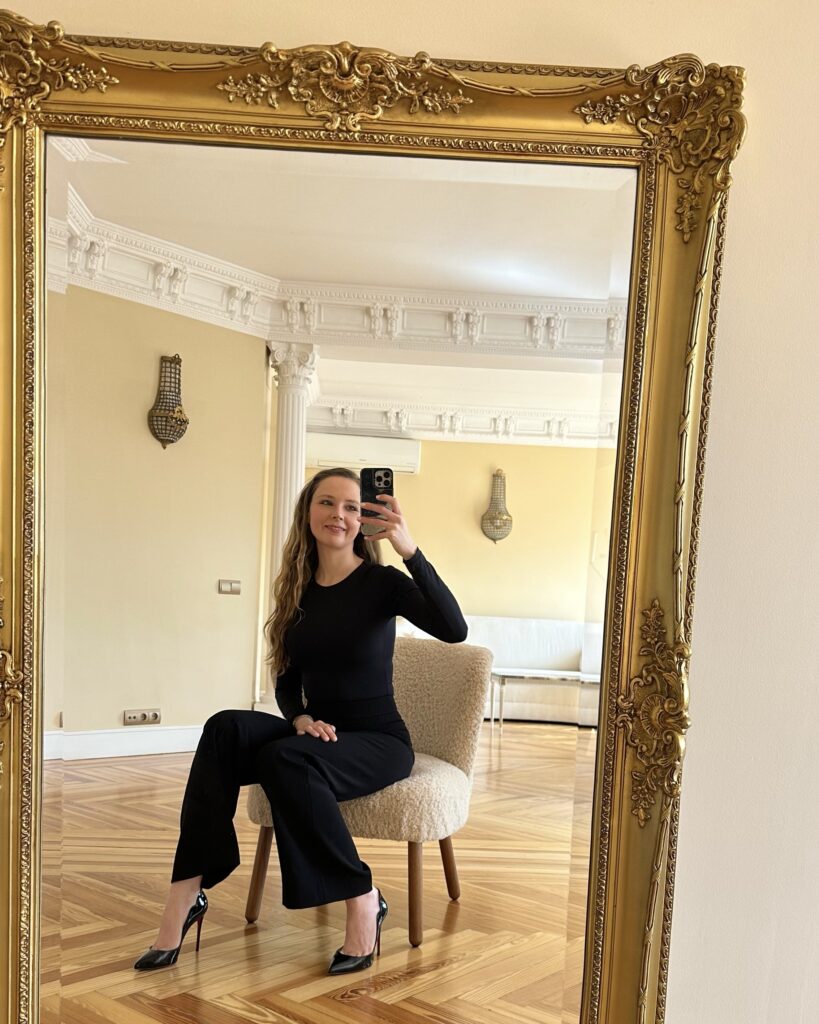
Yes, the clamping is super easy. Section your hair, and start clamping the barrels, it’s about as simple as that.
However, if you want to line up your waves perfectly (starting the next round of barrels where you left off the last), it will take a while to learn, especially at the back. But if you’re looking for an undone, effortless look, it doesn’t really matter if it’s not lined up perfectly.
When you’re starting at the top of the hair, you’ll automatically get a kink at the very top. To avoid this, clamp down the barrels and pull the tool slightly downwards, this way you are smoothing out the initial kink.
Some tutorial videos said it takes 12-15 minutes to do all your hair. It definitely took me at least 30 minutes the first time. That might be because I have a lot of hair and I had never used the tool before, but I still think it will take me more than 15 minutes next time.
One last thing to be careful of – when I started handling the waver, I accidentally pushed the “off” button and then started wondering why the tool was cooling down. So just be aware that this button is pretty much positioned right where your hand goes.
What other products did I use?
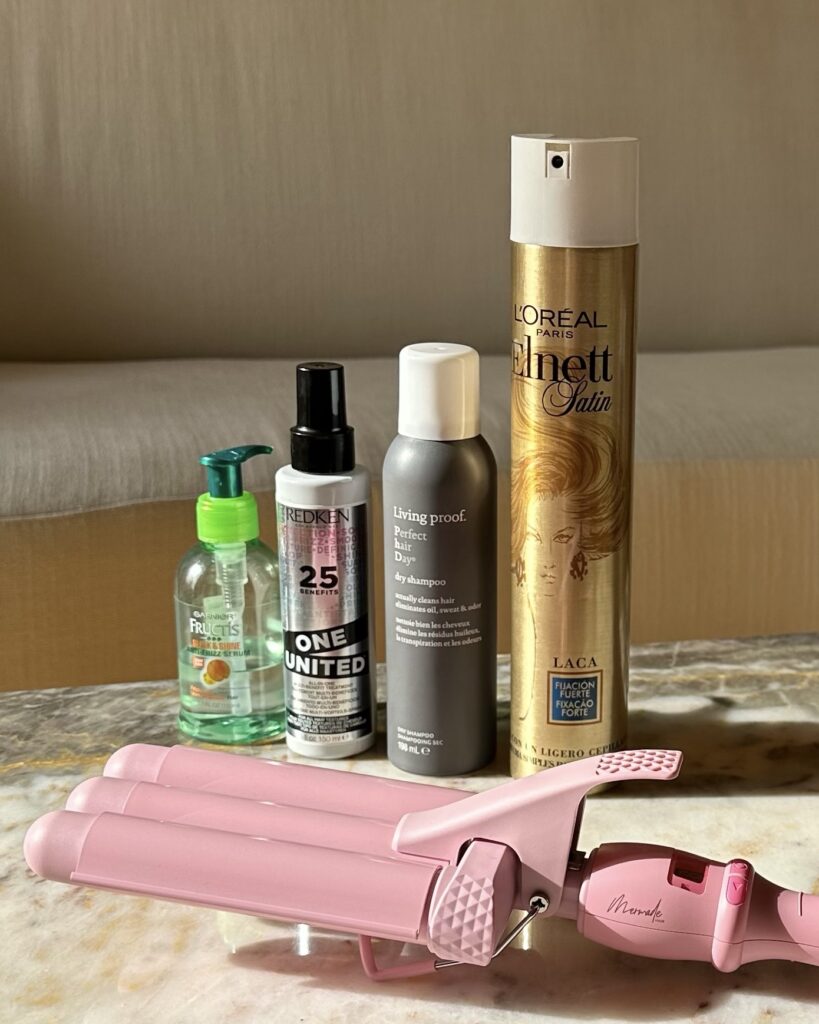
- I tried the waver on second day hair. For some extra texture, I went for my go-to: the Living Proof Perfect Hair Day Dry Shampoo (yes, it’s a dry shampoo, but might as well have been marketed as a texturizing spray!).
- The waver heats up fast. I already own heat protectant gloves, but the waver comes with a pink glove, so use that. Be sure to use heat protectant for your hair – I use the Redken One United spray and despite that, my hair felt very dry at the end of all the clamping.
- So, to combat that, I applied my Garnier Fructis Sleek and Shine Serum. I love this product’s smell, – it contains argan and apricot oil,- and it always gives my hair the shine it needs without weighing it down (yes, it’s a sleek serum but I use it on waves and curls lightly, too). That said, as with almost all oils, use it from the shoulder down (not at the roots, that will only make your hair greasy!).
- Last but not least, I finished off the look with my go-to hair spray: L’Oréal Paris Elnett Satin Strong Hold. This is a great affordable hair spray staple and I use it on all my waves, curls and even sometimes straight hair to make sure everything stays in place.
How long does the wave last?

The wave lasted well for one day. The next day, it looked even more effortless and undone. I guess you could add even more texture with a texturizing or dry shampoo.
After day three, I ended up washing my hair because I work out regularly and can’t stand greasy hair, and it also ended up getting quite tangled because of the waves.
The next time, I was thinking of trying the waver and then putting the hair into an updo. I feel that the waves are a great effortless look for off-duty and events. However, for a polished work look, I still feel they are a little too beachy and undone. Perhaps an updo can give it the right amount of volume at the root and then still make it look more “serious” at the top.
Should you get one?
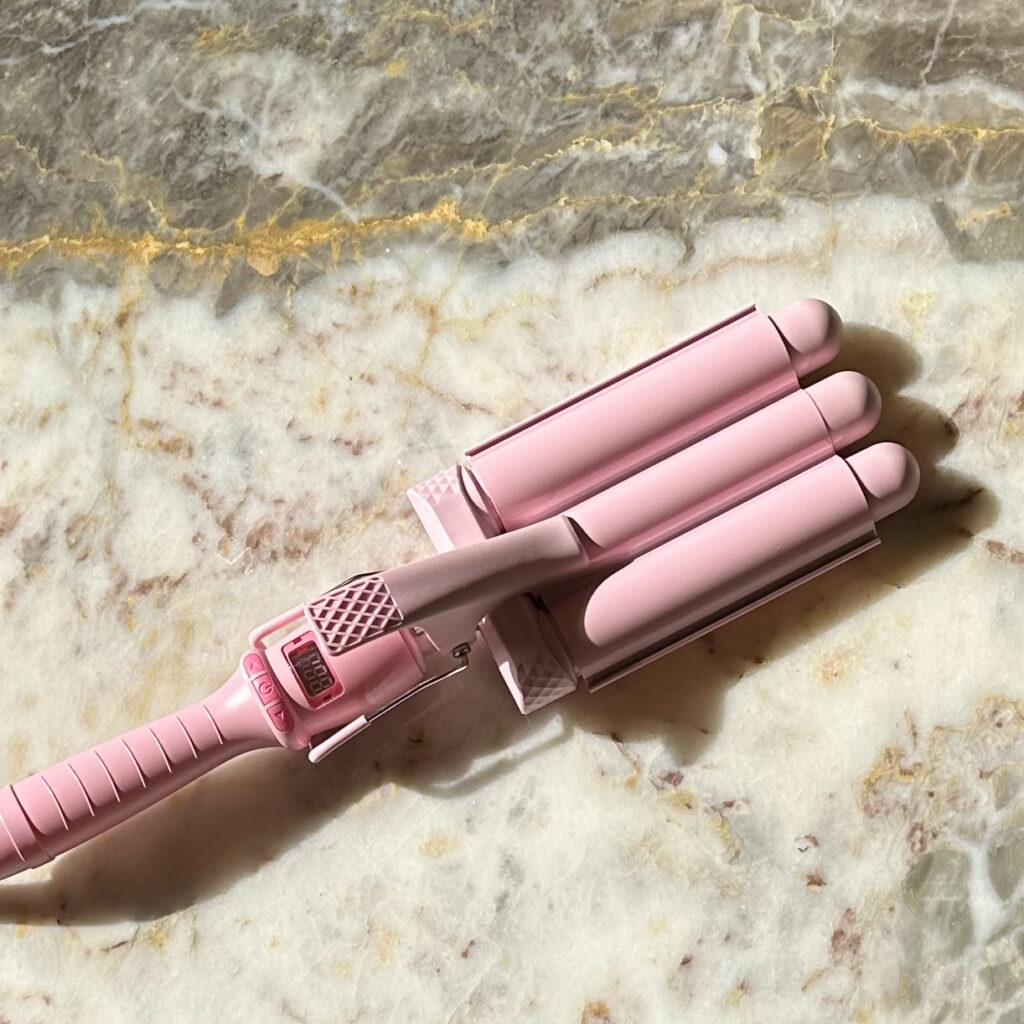
If you are looking for an affordable mermaid hair waver, this is a good option. Depending on your hair (long/short) and the type of wave you are looking for, you can go for the OG, Mini or Cutie Waver.
Compared to the Dyson hair tools (I guess the closest you could get to a mermaid wave would be with the Corrale, but I find it harder to do waves with a straightener), the Mermade Wavers are priced at $79 USD.
I recommend following Mermade Hair on Instagram and/or TikTok and signing up for their newsletter, they post 20% discounts quite frequently. Also, keep in mind the waver comes with a glove, in case you don’t have one yet. And if you’re not into millennial pink, consider the black version of the OG or Mini wavers.
Happy waving!

Questions or comments? Follow me on IG @isabelevabohrer or TikTok and say hi! See you soon!


